{{ soonTitle }}
{{ soonBody }}

First, sign in.

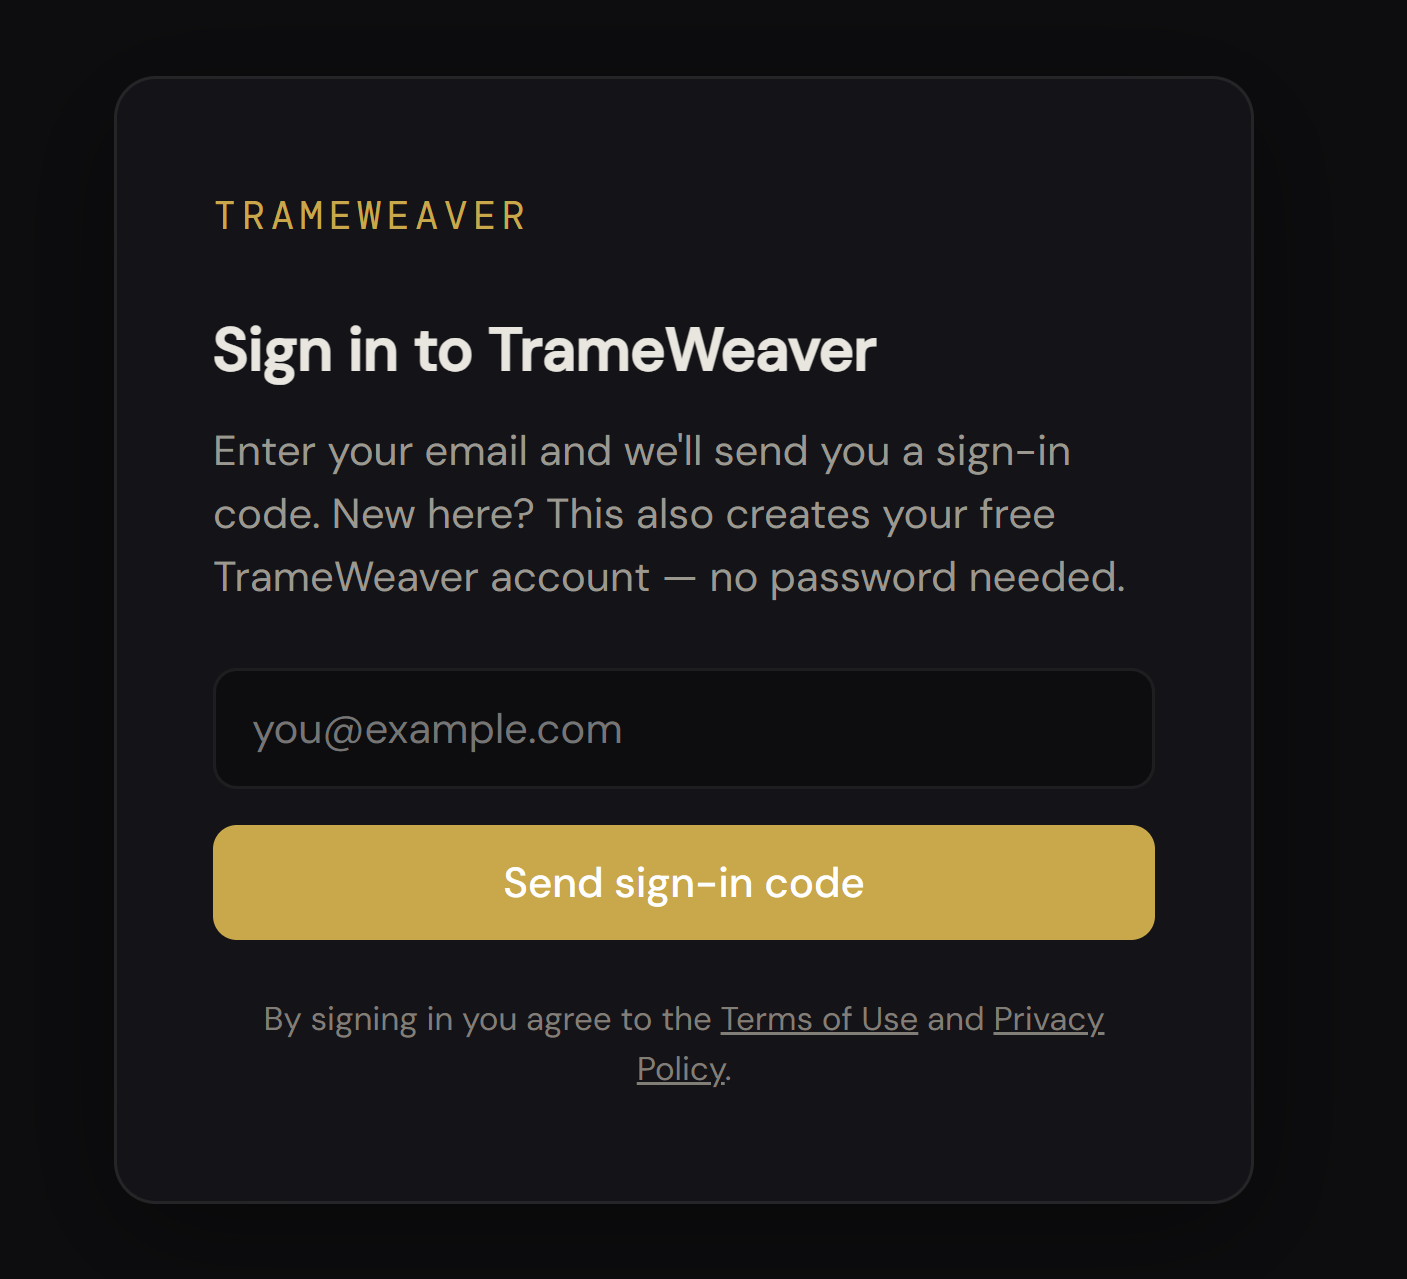
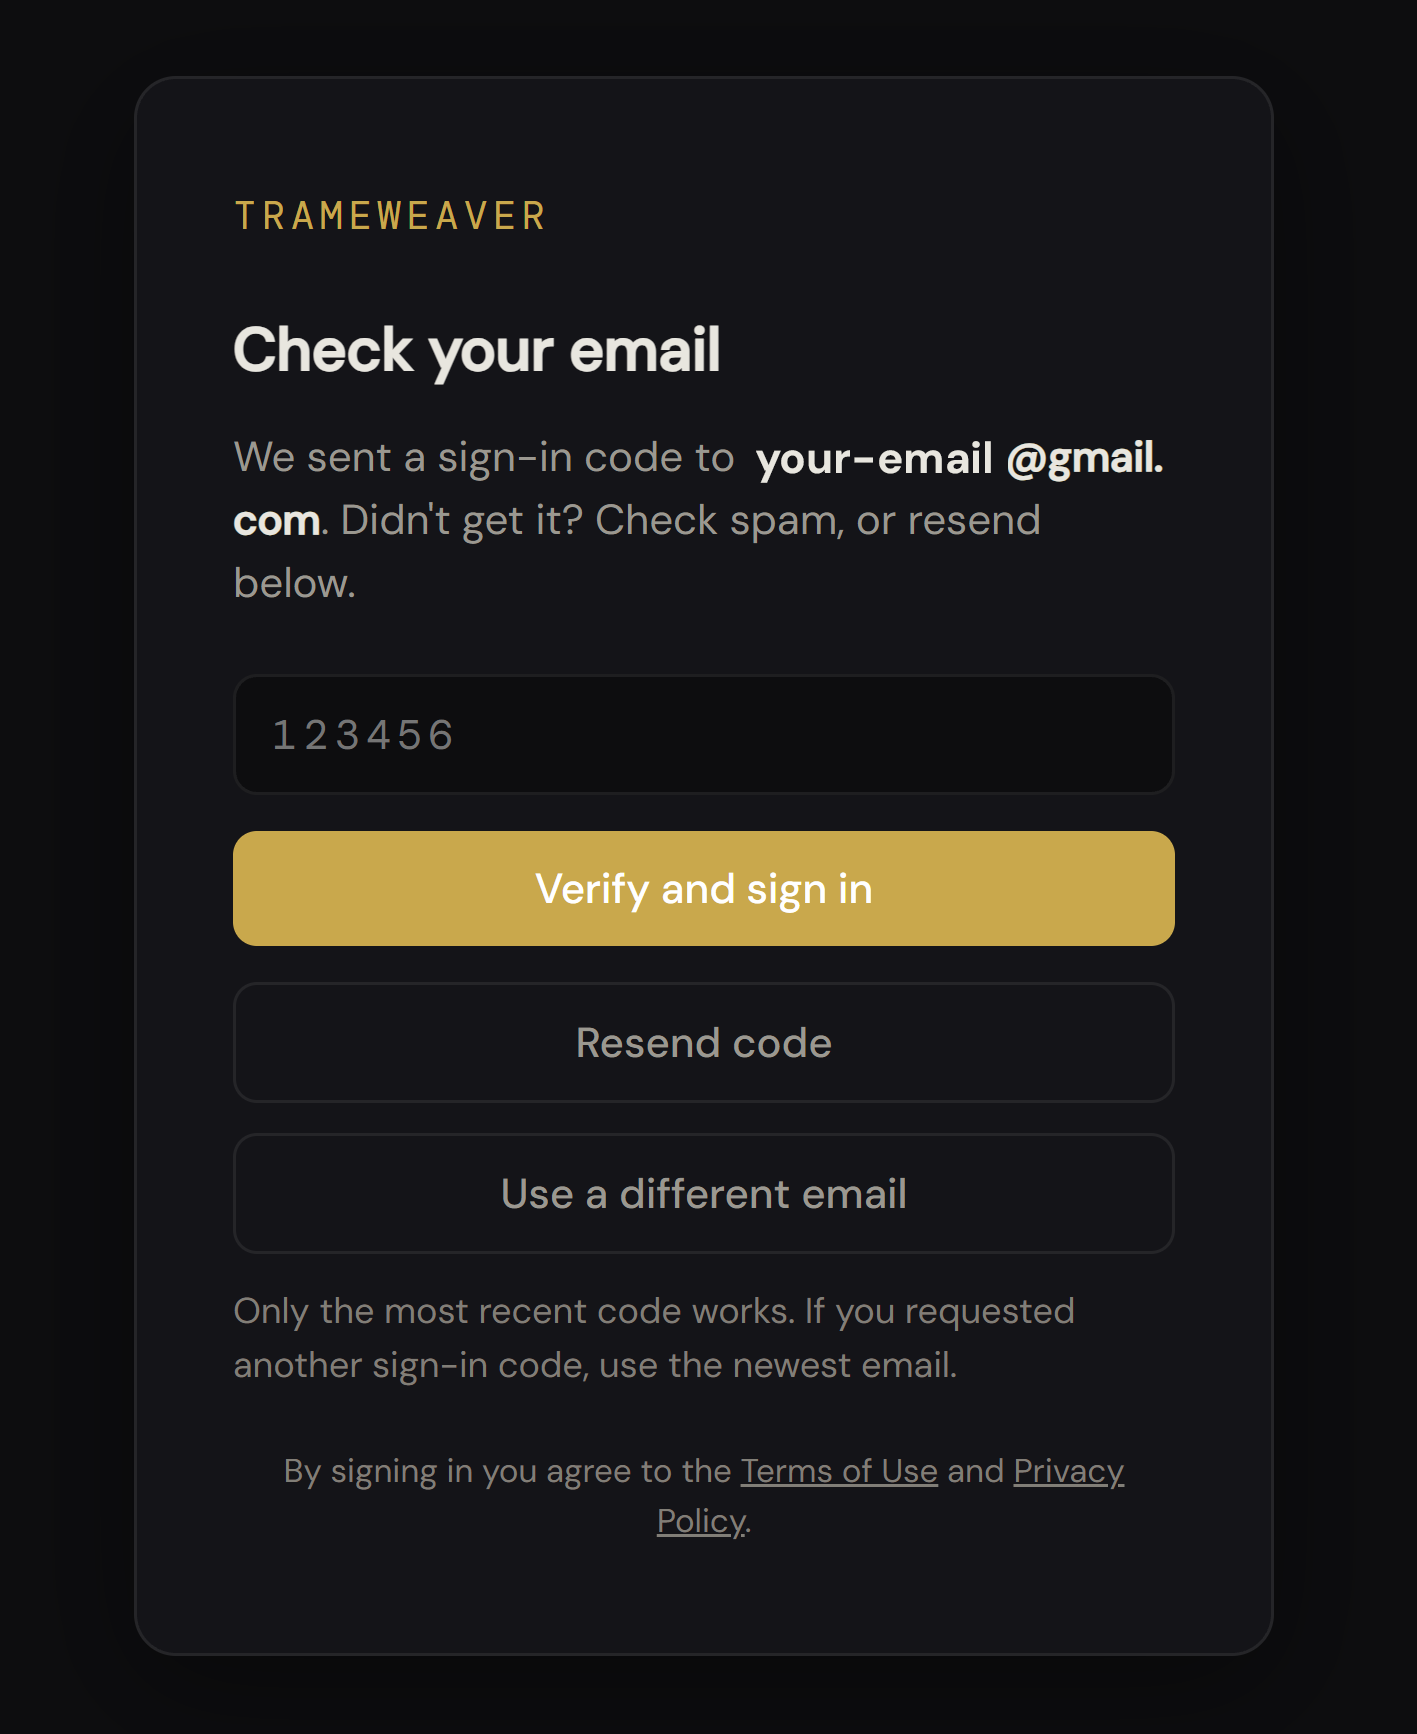
The sign-in process works the same way on Web and Desktop.
Desktop requires TrameWeaver Pro.A Free account can use the web app, but the desktop application will not open without an active Pro licence.
Start fresh, start with structure, or bring your work with you.
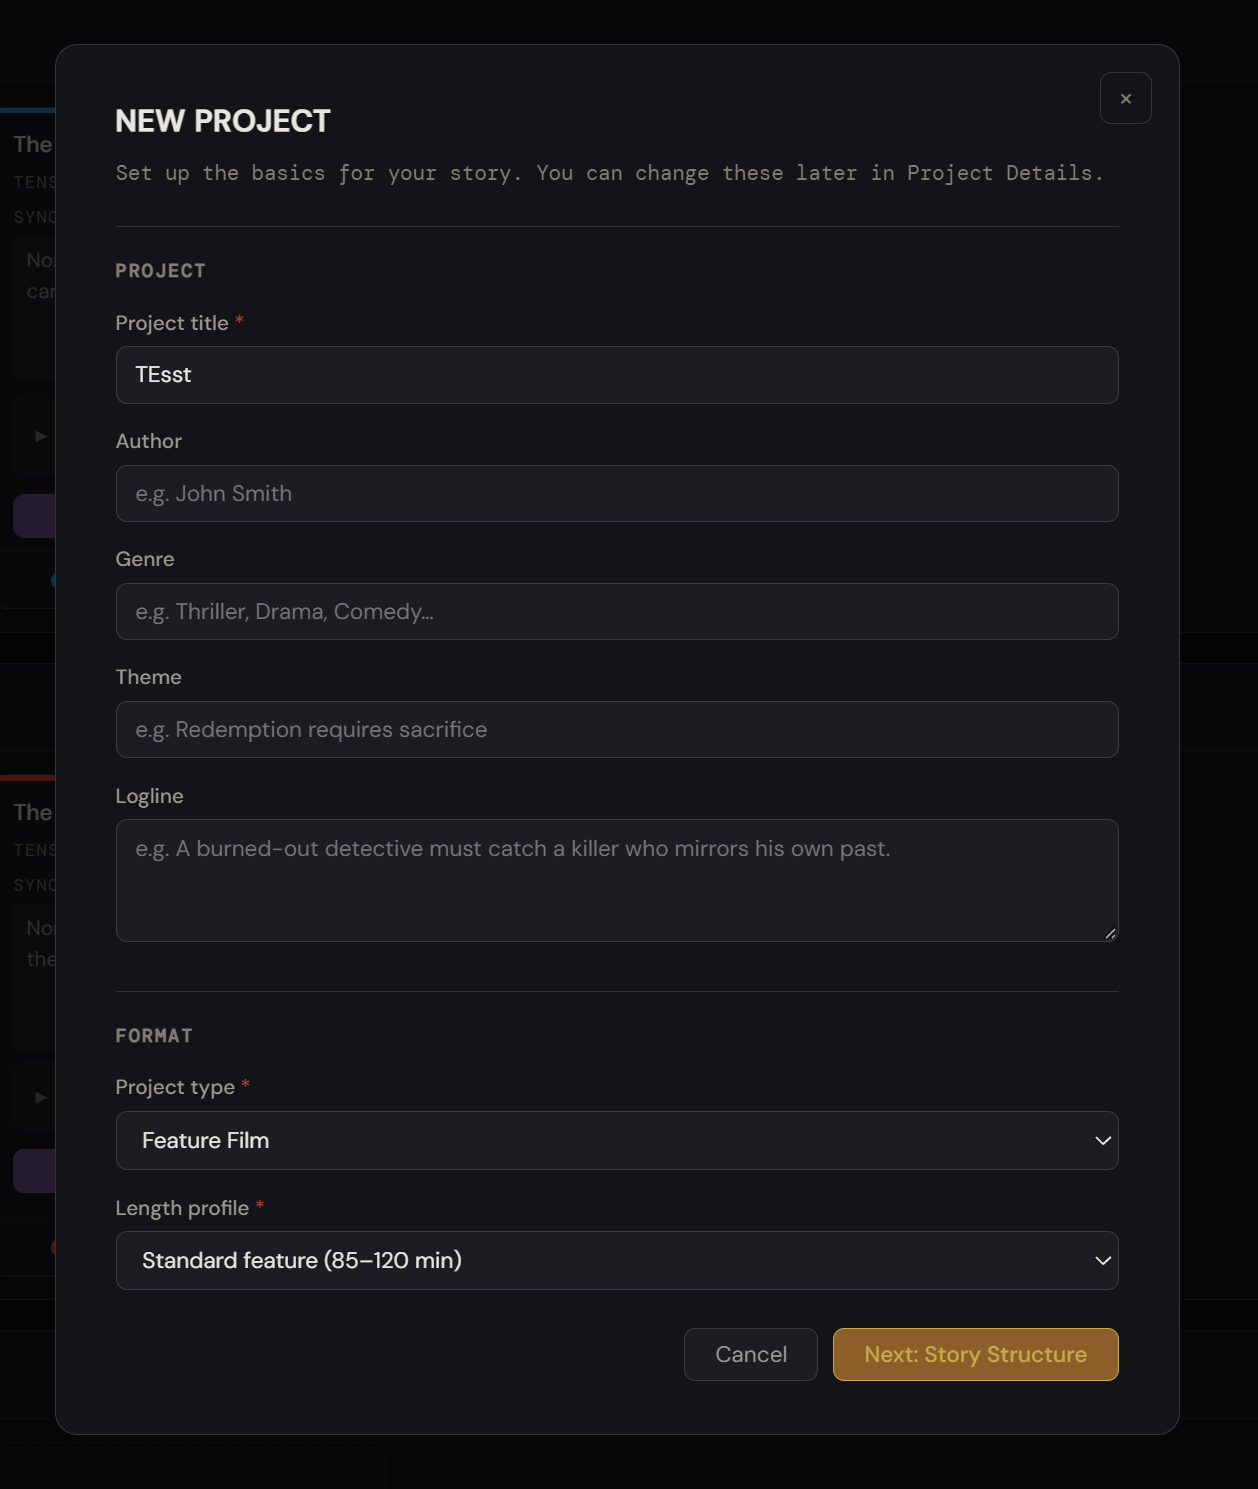
Set up your story.
Choose the basics now and change them later in Project Details. Your Film & TV or Novel format determines how writing is formatted in Scenes.
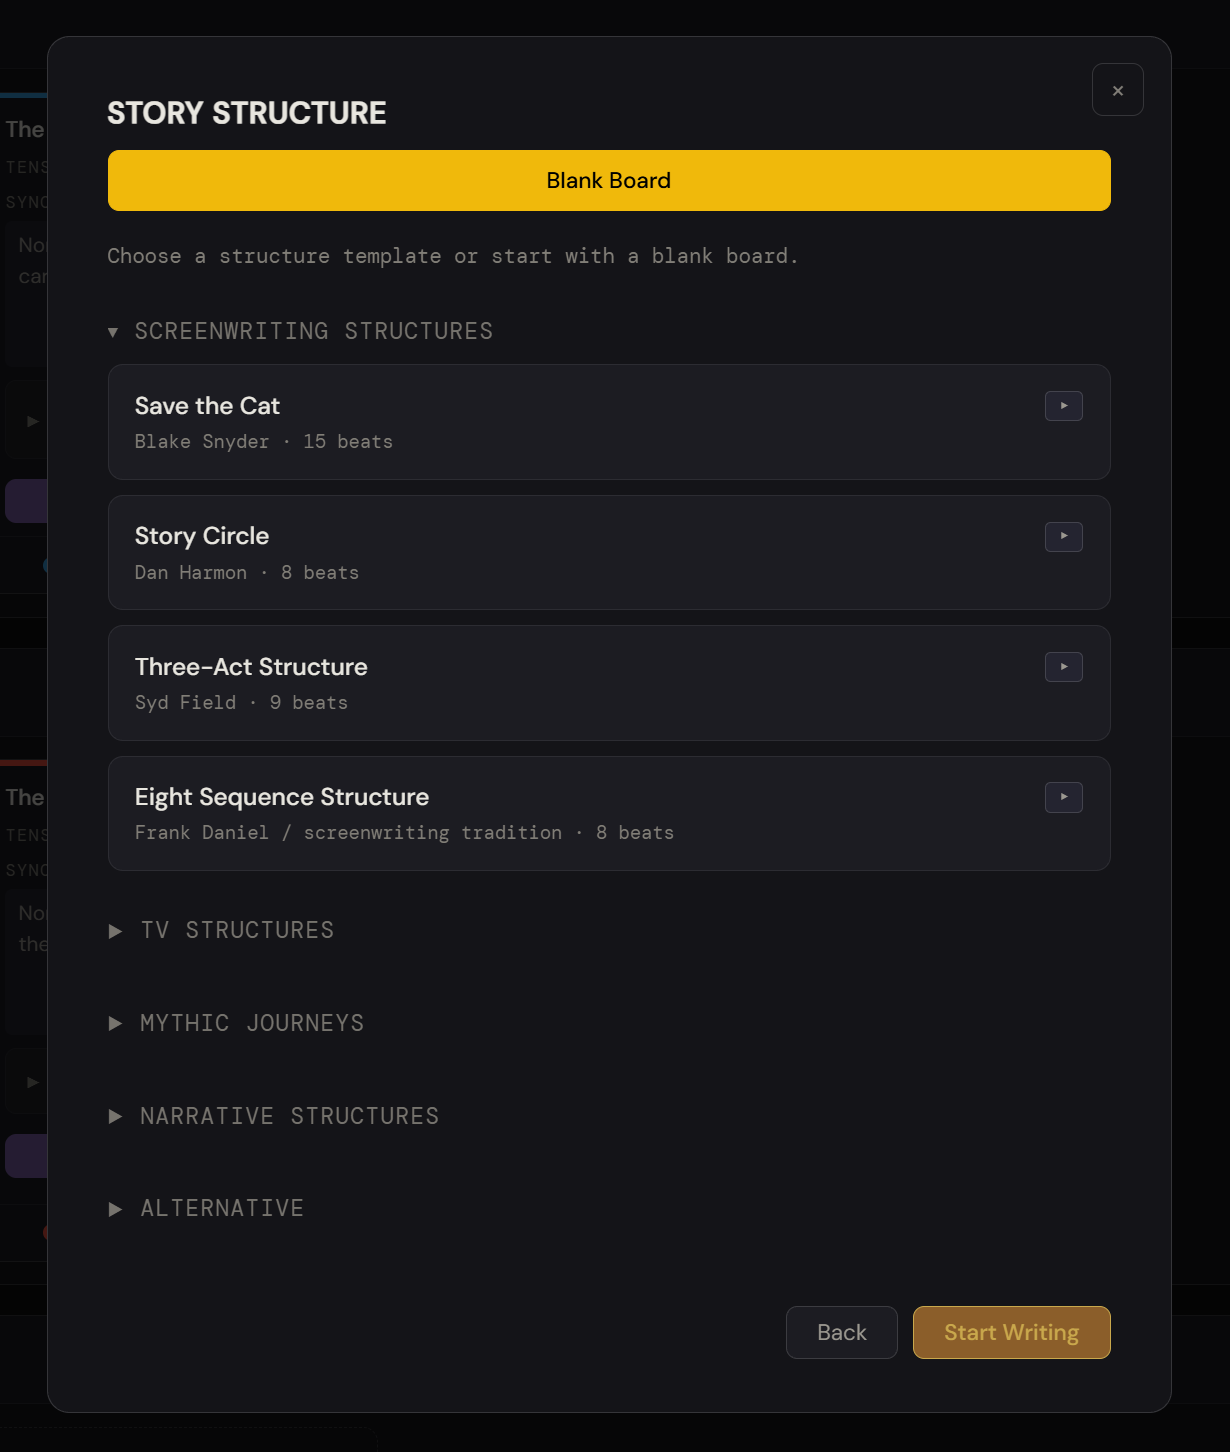
Start blank, or start with a structure.
Begin with an empty Board and build the structure yourself, or choose a template as a starting framework and adapt it to your story.
Templates are optional starting points, not rules. Change, add or remove anything once you’re in.
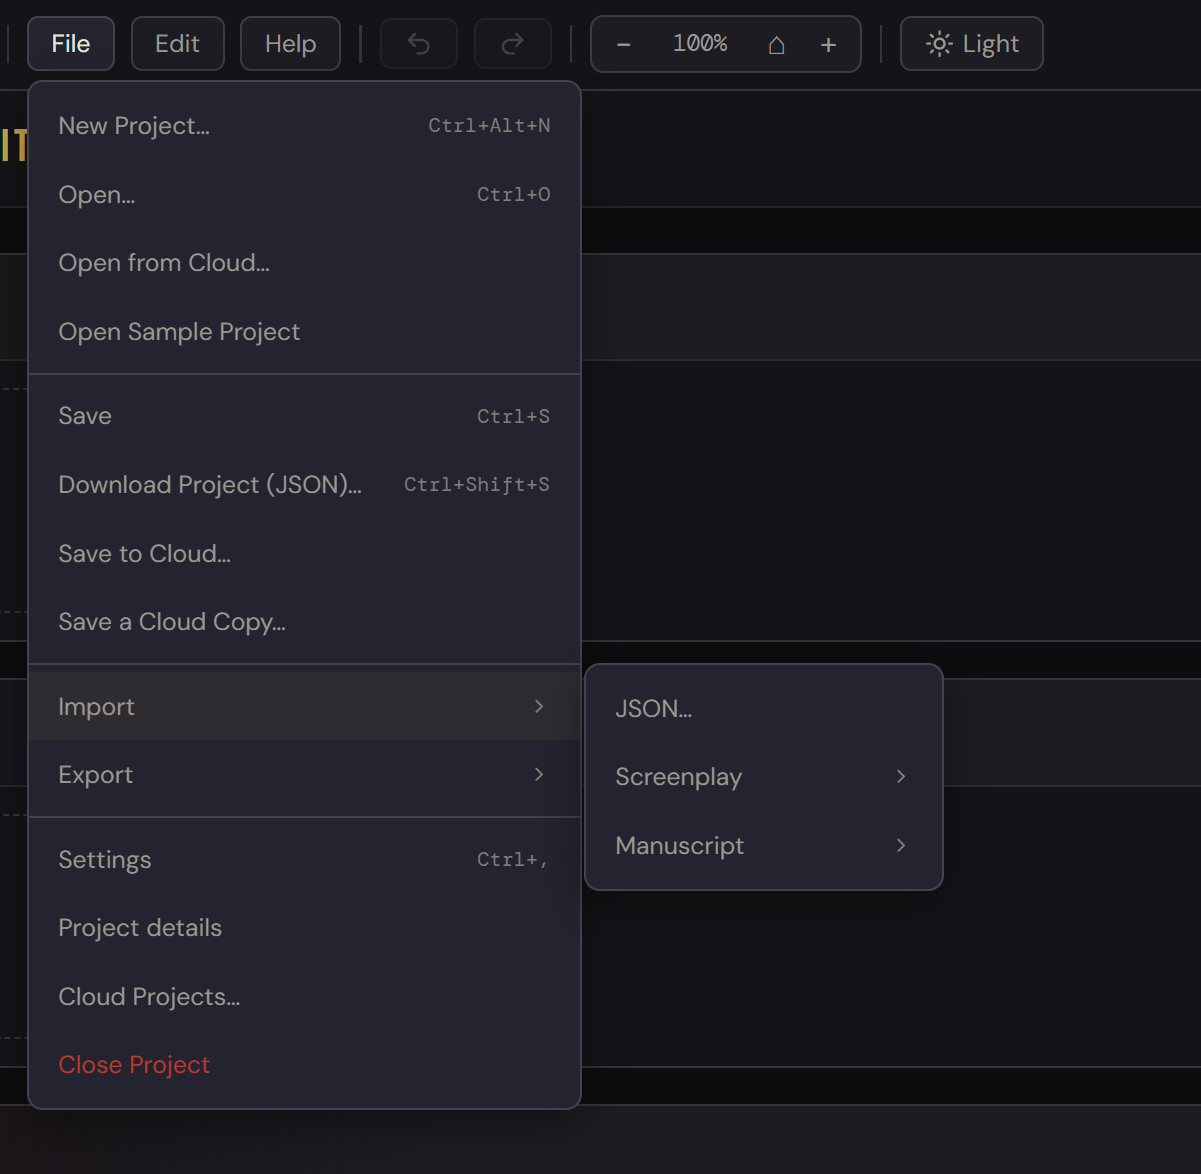
Bring an existing project into TrameWeaver.
Already started somewhere else? Import the work and continue inside TrameWeaver.
Give the story a shape.
The Board is where you see the structure of the project. Add beats, arrange them and change the order whenever the story changes.
You don’t need to finish the entire plan before writing. Start with what you know.
- aAdd a beatGive the story beat a name or description.
- bArrange the structureMove beats as the story evolves.
- cOpen a beat when you’re ready to writeIt opens in Scenes.
Open a beat.
Start writing.
Move from the Board into Scenes to write descriptions, prose and dialogue there.
The writing surface adapts to the form.
{{ modeCopy }}
Keep writing, or take the work with you.
Free keeps the project in the web app, within the Free project allowance.
- —Project export in multiple formats
- —Watermarked PDF export
Pro adds local .trwe project files, desktop and web access, offline work, Cloud Projects and PDF export without the watermark.